As it was a long weekend here, I had been planning for a few weeks to try to get the first start attempt organised for this weekend. After finishing the last few things on my To Do list we ran some electrical checks, then dropped her back on to her wheels. From here we pulled all the spark plugs out to lower compression and then cranked the engine over by hand to circulate some oil. We then cranked the engine over with out any fuel, to make sure it cranked. It did! This means most of the electrical system so far is working with no blue smoke coming out.
We then rolled her out the front, and broke out the fire extinguishers. I put 5 litres of fuel in the tank, and we got ready to fire it up. Turning the key got it to crank, but that was it. A glance at the fuel pressure gauge indicated no pressure. So either we had the filter in the wrong way up, the the FPR incorrectly set up, or the pump lines were wrong. We pulled the line off between the pump and the filter, and cranked it again back into the jerry can. Still no fuel?!? The pump was cutting out fairly quickly, so we surmised maybe there was not enough fuel in the tank, so we added 5 more litres and tried it again. Fuel started to splutter out of the hose! We reconnected it back to the filter and clamped it, then tried it again. No start, but this time the FPR went up to 90psi.....which is double what we need. I adjusted the FPR back down to 42psi and locked it off.
Put the key back in and cranked it over......
:) Very happy!
It starts easily, runs very smoothly and revs nicely. Its fairly quiet with the muffler I have fitted. I need to reorganise the cooling, but it pressurised OK and nothing leaked. Best of all the fuel system worked perfectly (once we had enough fuel in it). Its hard to believe I have managed to pull together a bunch of parts from all over the world and combine them into a single working unit.
This is a major milestone as I can now engage the engineer to start certifying it for rego, and I can also start putting the finishing touches on it such as the windscreen, roll bar and the lights.
Many thanks again to Steve who assisted with the troubleshooting and shared in the elation of the first start (although no feet in the video as he was shooting it on the phone!)
Monday, October 3, 2011
Electrical System Check

The old dash cluster lit up revealing the original engine mileage.....12,791km. On the downside, there are few errors we need to remove, and these have interesting alarm chimes sounding. Putting the old key near the PATS reader, we were able to make it crank over.........
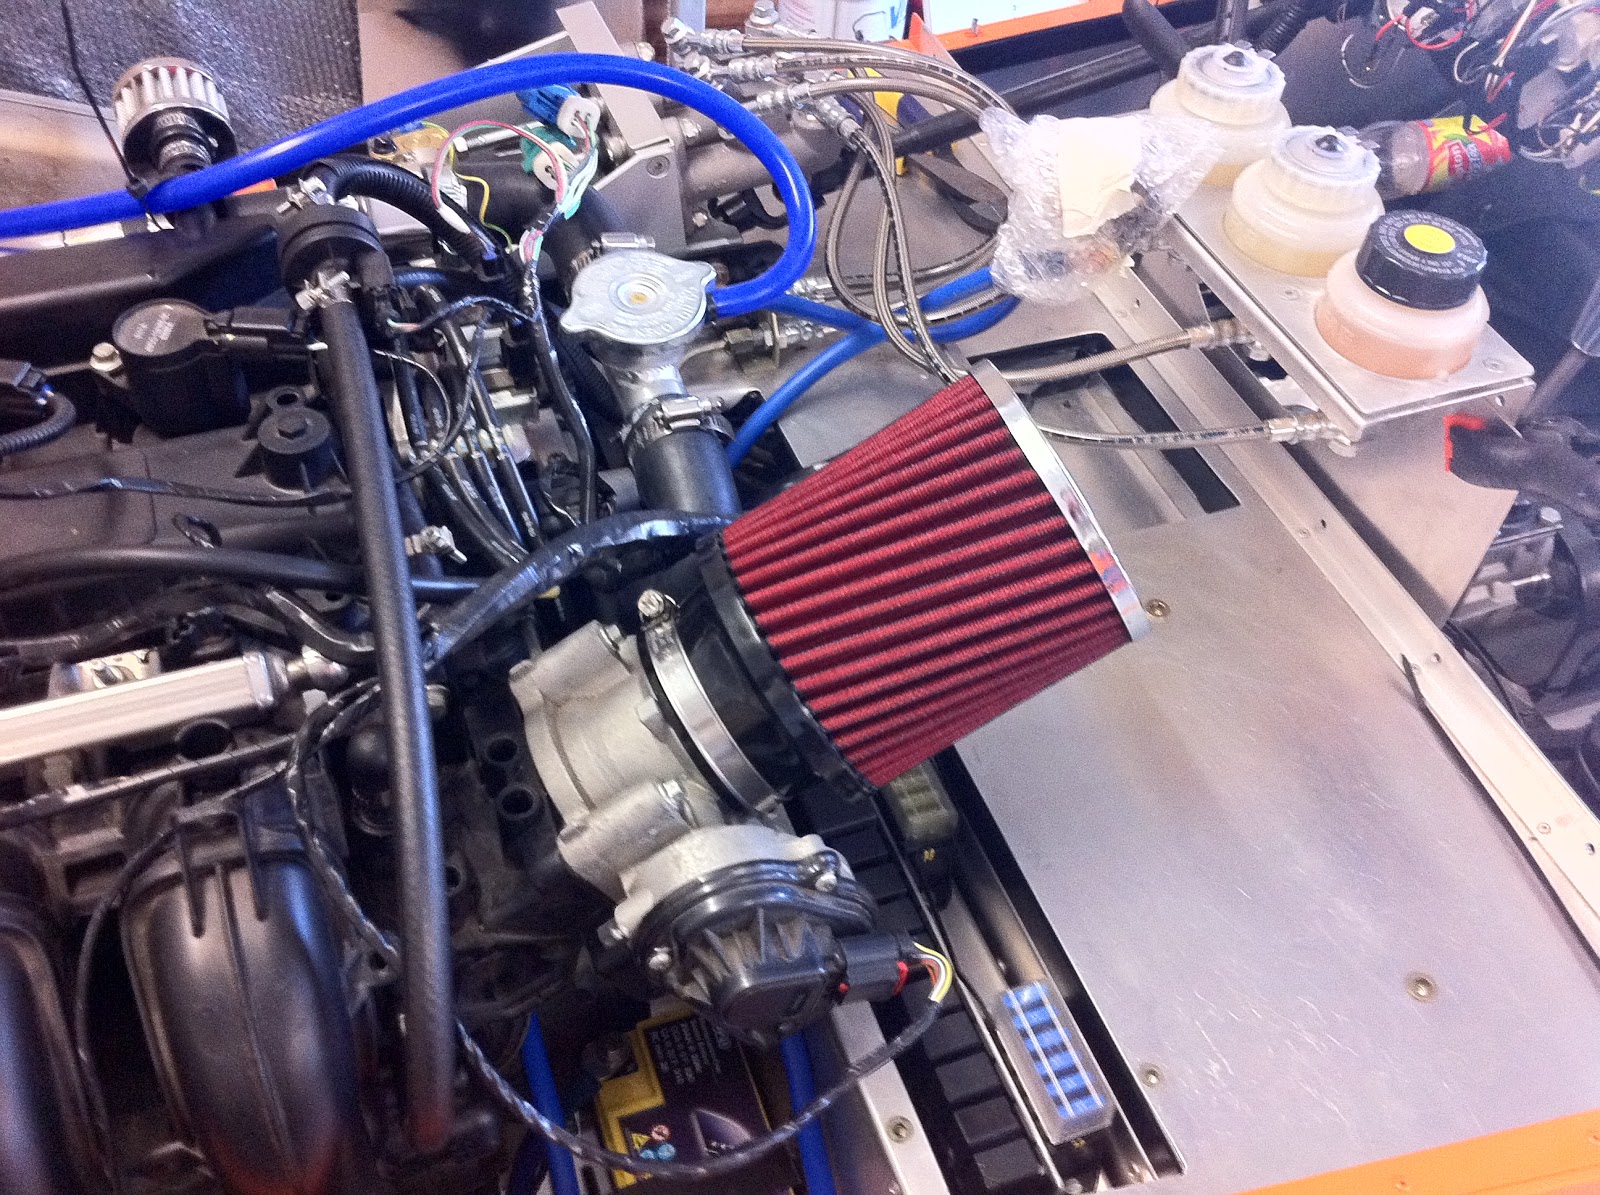
Pod Air Filter
Fan belt

Saturday, October 1, 2011
Alternator - Part 2
After trying to fit the alternator I had, I decided it was to big for the space it was supposed to fit. I contacted the wrecker I got it from (New Model Wreckers) and they happily agreed to swap it for whatever I wanted. I went out there and 10 minutes later I had a tiny little Denso alternator from a Diahatsu Cuore. This is half the weight of the previous one and it fits into the right space without having to remove anything. Only problem now is that Eurospeed didn't have any billet mounting brackets in stock, and had no production runs planned for over 2 months.
If I want to get the car started soon, I would need to fabricate the brackets myself, using 6mm aluminum plate. In the words of Jeremy Clarkson...."How hard can it be?".
 This is prototype 1. The new alternator is mounted with the terminals outboard, and with the 10mm straight through bracket at the top. Prototype 1 was designed to bolt up onto the block about halfway up the block. The issue with this attempt was I cracked the 6mm aluminum while bending it, and it was fractionally forward of where it needed to be,
 Here is prototype 1 mounted on the block.
 Here is the alternator mounted on prototype 1. The issue here was the top mount appeared to be to low. This meant the bottom of the alternator was wedged between the frame and the block. Worse still, the bottom mount on the alternator fouled the bottom mount point on the block.
 Here is prototype 2. This was similar to 1, however I heated the aluminum while I bent it to avoid cracking. The alternator was reversed so the top pivot now was an 8mm threaded hole. The new bracket was drilled so that the pivot point was higher. Problem here was the main terminals now contacted the block, and the alternator body still fouled the frame, with little or no adjustment. Overall the alternator appeared to low.
 Here is prototype 3 on the alternator, next to the remnants of prototypes 1 and 2. This new approach came about after a few beers and sitting looking at the problem for about an hour. I decided to see if I could use the original alternator mount as a hanger, rather than bolting the bracket to the block down lower. I put a bolt in this mount and hung the alternator on a cable tie to test. Looked OK.
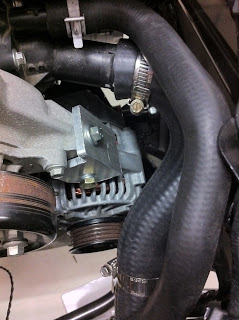
 This is revision B of prototype 3. I cut away the bottom half of the mounting face, and this allowed a larger range of adjustment. Prototype 3 mounts the alternator much higher, and allows lots of space either side of the alternator. This version means the alternator doesn't foul the block or the frame. Underneath here all of the alternator wiring is complete and the bottom mount is a 90 degree tab to locate the bottom mount onto the block. Prototype 3 is the winner! Tomorrow I can fit the fan belt and the idler pulley.
If I want to get the car started soon, I would need to fabricate the brackets myself, using 6mm aluminum plate. In the words of Jeremy Clarkson...."How hard can it be?".


 Here is the alternator mounted on prototype 1. The issue here was the top mount appeared to be to low. This meant the bottom of the alternator was wedged between the frame and the block. Worse still, the bottom mount on the alternator fouled the bottom mount point on the block.


Prototype 3 was fabricated using 40mm right angle that is 6mm thick, shaped to suit the mount and the alternator. This is revision A with the alternator mounted. The issue here was that the bracket fouled the alternator bracket and didn't allow any adjustment. The alternator is spaced backwards with one washer.
 This is revision B of prototype 3. I cut away the bottom half of the mounting face, and this allowed a larger range of adjustment. Prototype 3 mounts the alternator much higher, and allows lots of space either side of the alternator. This version means the alternator doesn't foul the block or the frame. Underneath here all of the alternator wiring is complete and the bottom mount is a 90 degree tab to locate the bottom mount onto the block. Prototype 3 is the winner! Tomorrow I can fit the fan belt and the idler pulley.
Subscribe to:
Posts (Atom)